[ez-toc]
Editing large documents can quickly become frustrating when you have to manually search for repeated words, phrases, or formatting errors. This is where the Find and Replace in Microsoft Word feature becomes an essential tool. Whether you’re updating names, correcting typos, or changing formatting across an entire document, this powerful function can save hours of manual work.
In this guide, you’ll learn exactly how to use Find and Replace in Word efficiently, including advanced techniques that most users overlook. By the end, you’ll be able to edit documents faster, more accurately, and with far less effort.
What Is Find and Replace in Word?
The find and replace in word feature in Microsoft Word allows users to search for specific text and replace it automatically throughout a document. Instead of scanning line by line, you can instantly locate every instance of a word or phrase and modify it in seconds.
This tool is especially useful when working with long documents such as reports, articles, academic papers, or business proposals. For example, if you need to change a company name or update a repeated term, Find and Replace ensures consistency across the entire file.
Beyond simple text replacement, the feature also supports formatting changes. This means you can replace fonts, styles, or even special characters, making it a versatile tool for both beginners and advanced users.
Why You Should Use Find and Replace
Using Find and Replace isn’t just about saving time it also improves accuracy and consistency in your writing. Manual editing increases the chances of missing errors, especially in lengthy documents.
When you rely on this feature, you eliminate repetitive work and reduce human error. For instance, if a keyword is spelled incorrectly throughout your document, manually fixing it could result in missed instances. Find and Replace ensures every occurrence is corrected.
Additionally, it’s extremely helpful for content optimization. Writers and editors often use it to adjust keywords, refine language, or standardize terminology without rewriting entire sections.
How to Use Find and Replace in Word
Using find and replace in word is simple, even if you’re new to Word. You can access it quickly and start editing immediately.
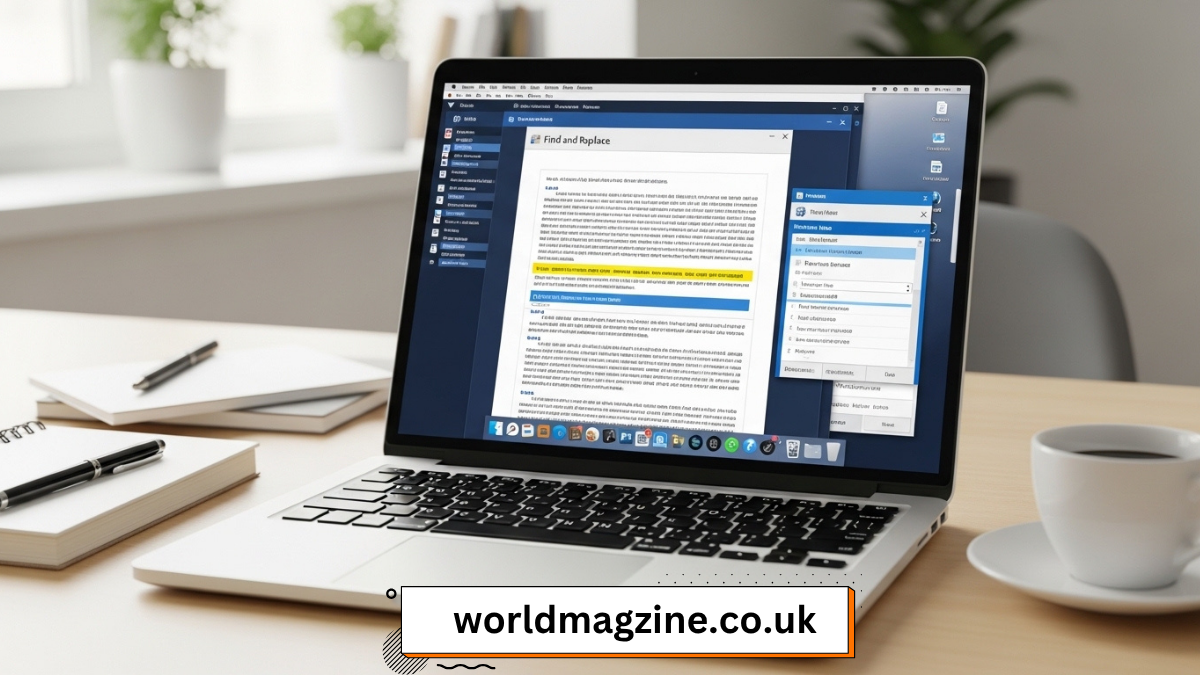
To open the feature, press Ctrl + H on your keyboard. This shortcut brings up the Find and Replace dialog box, where you can enter the text you want to find and the replacement text.
Once the dialog box appears, type the word or phrase you want to locate in the “Find what” field. Then, enter the replacement text in the “Replace with” field. You can choose to replace items one by one using “Replace” or update all instances at once using “Replace All.”
If you’re unsure about replacing everything, it’s better to review each instance individually. This gives you more control and prevents unintended changes.
Advanced Features of Find and Replace
While basic usage is straightforward, the advanced features of Find and Replace make it incredibly powerful. These options allow you to refine your searches and perform more precise edits.
One useful feature is Match Case, which ensures that only text with the exact capitalization is replaced. This is important when dealing with proper nouns or acronyms. Another option is Find Whole Words Only, which prevents partial matches from being replaced.
You can also search using wildcards, which act as placeholders for patterns. This is particularly helpful when dealing with variations of words or formatting inconsistencies.
Formatting replacement is another advanced capability. For example, you can replace all bold text with italics or change font styles across the document. This is especially useful when preparing professional documents with consistent formatting.
Common Use Cases for Find and Replace
find and replace in word is widely used in many real-world scenarios, especially in professional and academic environments.
For example, writers often use it to update repeated keywords in articles. This helps maintain SEO consistency without manually editing each section. Similarly, students can use it to correct repeated mistakes in essays or research papers.
Businesses rely on this feature to update branding elements such as company names, addresses, or product details across documents. Instead of editing each page, they can make global changes instantly.
Another common use case is formatting cleanup. If a document has inconsistent fonts or spacing, Find and Replace can standardize everything in just a few clicks.
Tips for Using Find and Replace Efficiently
To get the most out of Find and Replace, it’s important to use it strategically. While the tool is powerful, careless usage can lead to unintended changes.
Always review your document before using “Replace All.” This ensures that you understand how the changes will affect the content. If the term appears in multiple contexts, replacing everything at once might not be appropriate.
It’s also helpful to use the preview feature when available. This allows you to see each instance before replacing it. For complex edits, working step by step is usually safer.
Another effective approach is saving a backup of your document before making large changes. This way, you can easily revert if something goes wrong.
Mistakes to Avoid When Using Find and Replace
Despite its usefulness, Find and Replace can cause problems if used incorrectly. One common mistake is replacing text without considering context. For example, replacing a short word like “in” could unintentionally alter other words such as “inside.”
Another issue arises when users forget to enable options like “Match Case” or “Whole Words Only.” This can result in incorrect replacements that affect the readability of the document.
Overusing “Replace All” is another common problem. While it’s fast, it doesn’t allow for review, which can lead to errors. It’s always better to proceed carefully when making significant changes.
How Find and Replace Improves Productivity
Productivity is one of the biggest benefits of using Find and Replace. Tasks that would normally take hours can be completed in minutes. This is especially valuable for professionals who work with large volumes of text daily.
By automating repetitive edits, you can focus on more important aspects of your work, such as content quality and structure. This not only saves time but also improves overall efficiency.
For teams, it ensures consistency across shared documents. Whether it’s a marketing campaign or a research report, maintaining uniform terminology becomes much easier with this tool.
Conclusion
The find and replace in word feature in Microsoft Word is more than just a basic editing tool—it’s a powerful productivity booster. From simple text changes to advanced formatting adjustments, it allows you to edit documents quickly and accurately.
By understanding how to use its features effectively, you can save time, reduce errors, and improve the quality of your work. Whether you’re a student, writer, or professional, mastering Find and Replace is a skill that will significantly enhance your workflow.
FAQs
Q1. What is the shortcut for Find and Replace in Word?
The shortcut is Ctrl + H, which opens the Find and Replace dialog box instantly, allowing you to start editing without navigating menus.
Q2. Can I undo a Replace All action?
Yes, you can undo it immediately by pressing Ctrl + Z. However, if you continue editing afterward, undoing may become difficult.
Q3. Does find and replace in word work with formatting?
Yes, it allows you to search and replace formatting such as fonts, styles, and text effects, making it very useful for document cleanup.
Q4. Is find and replace in word case-sensitive?
It can be, if you enable the “Match Case” option. Otherwise, it will replace text regardless of capitalization.
Q5. Can I use find and replace in word for special characters?
Yes, Word supports searching for special characters and symbols, which is helpful for advanced editing tasks.
Q6. Is it safe to use Replace All?
It is safe if used carefully. Always review your document or use it when you are confident about the changes.
About the Author